Are you ready to create a new job? We've made it easy for you to enter your job information!
The Create New Job page is where you will add this information. Before getting started, we would like to point out several options you can choose from that will open the Create New Job page.
You can select New Job in the Jobs drop-down on the toolbar.

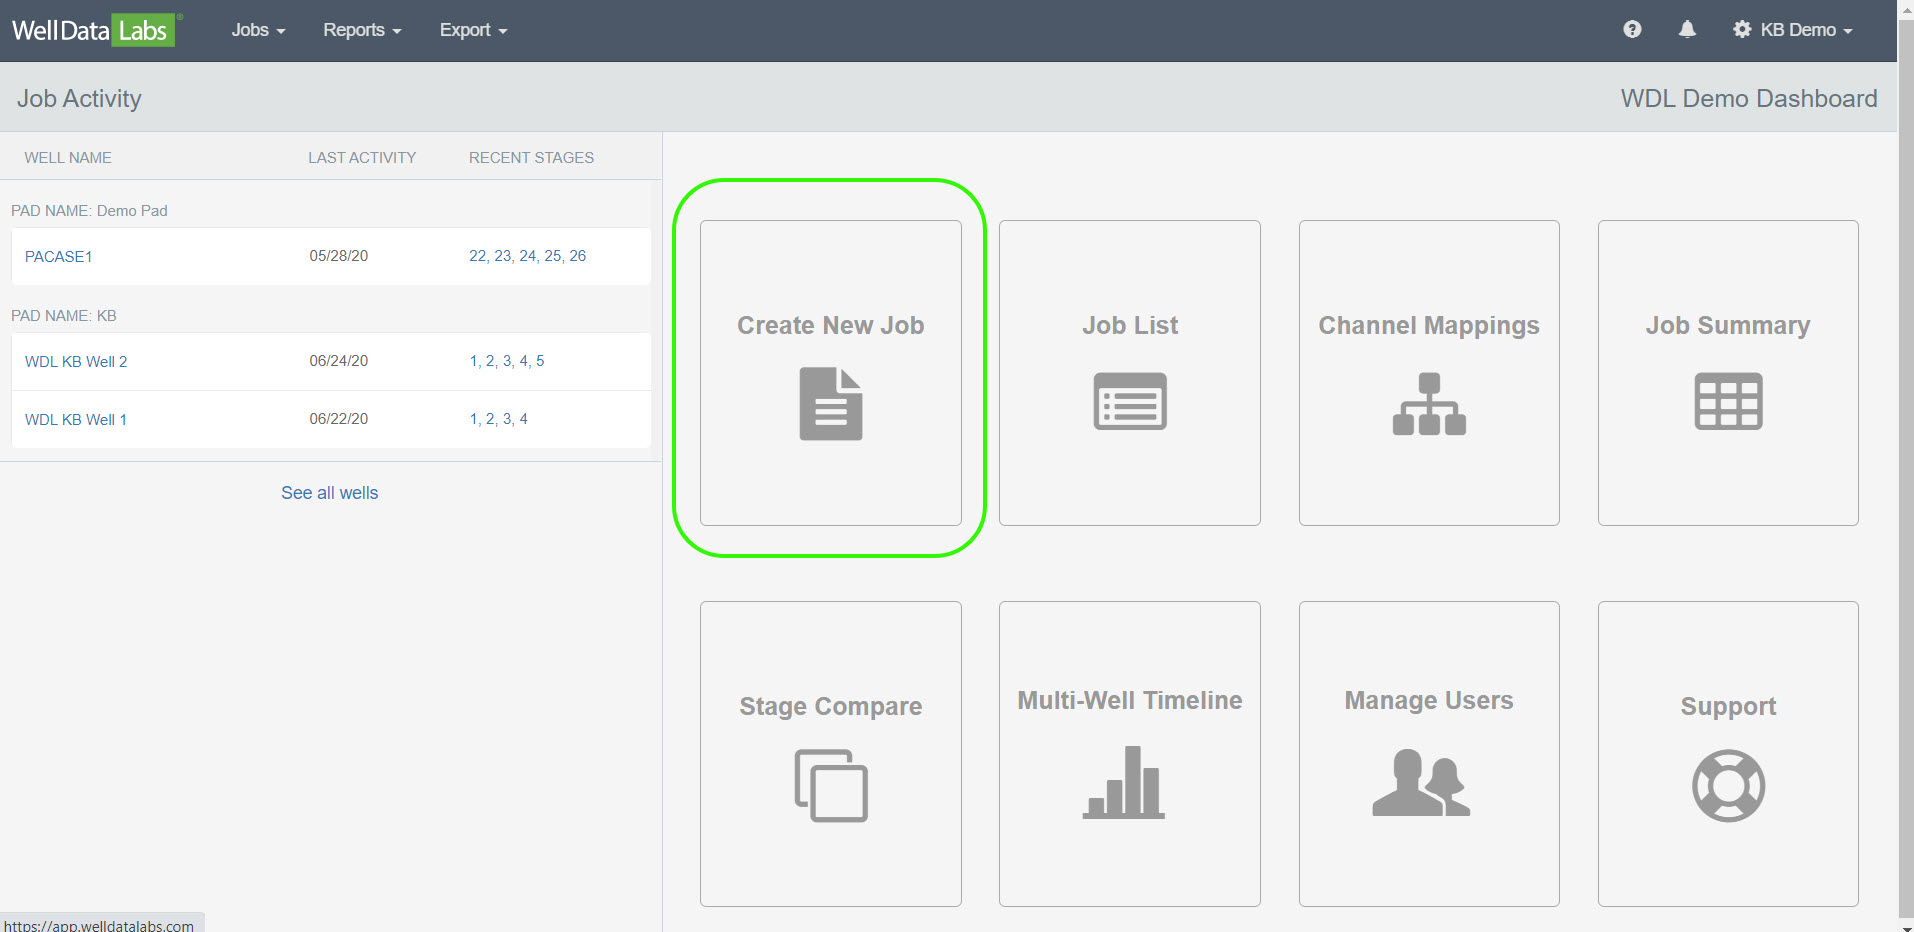
Or, you can access it by clicking on the Create New Job tile on the Dashboard.
If you are on the Job List page, click the 3-bar button in the upper right-hand corner of the page and select New Job.

When the New Job page opens, you can begin to enter your Well information.
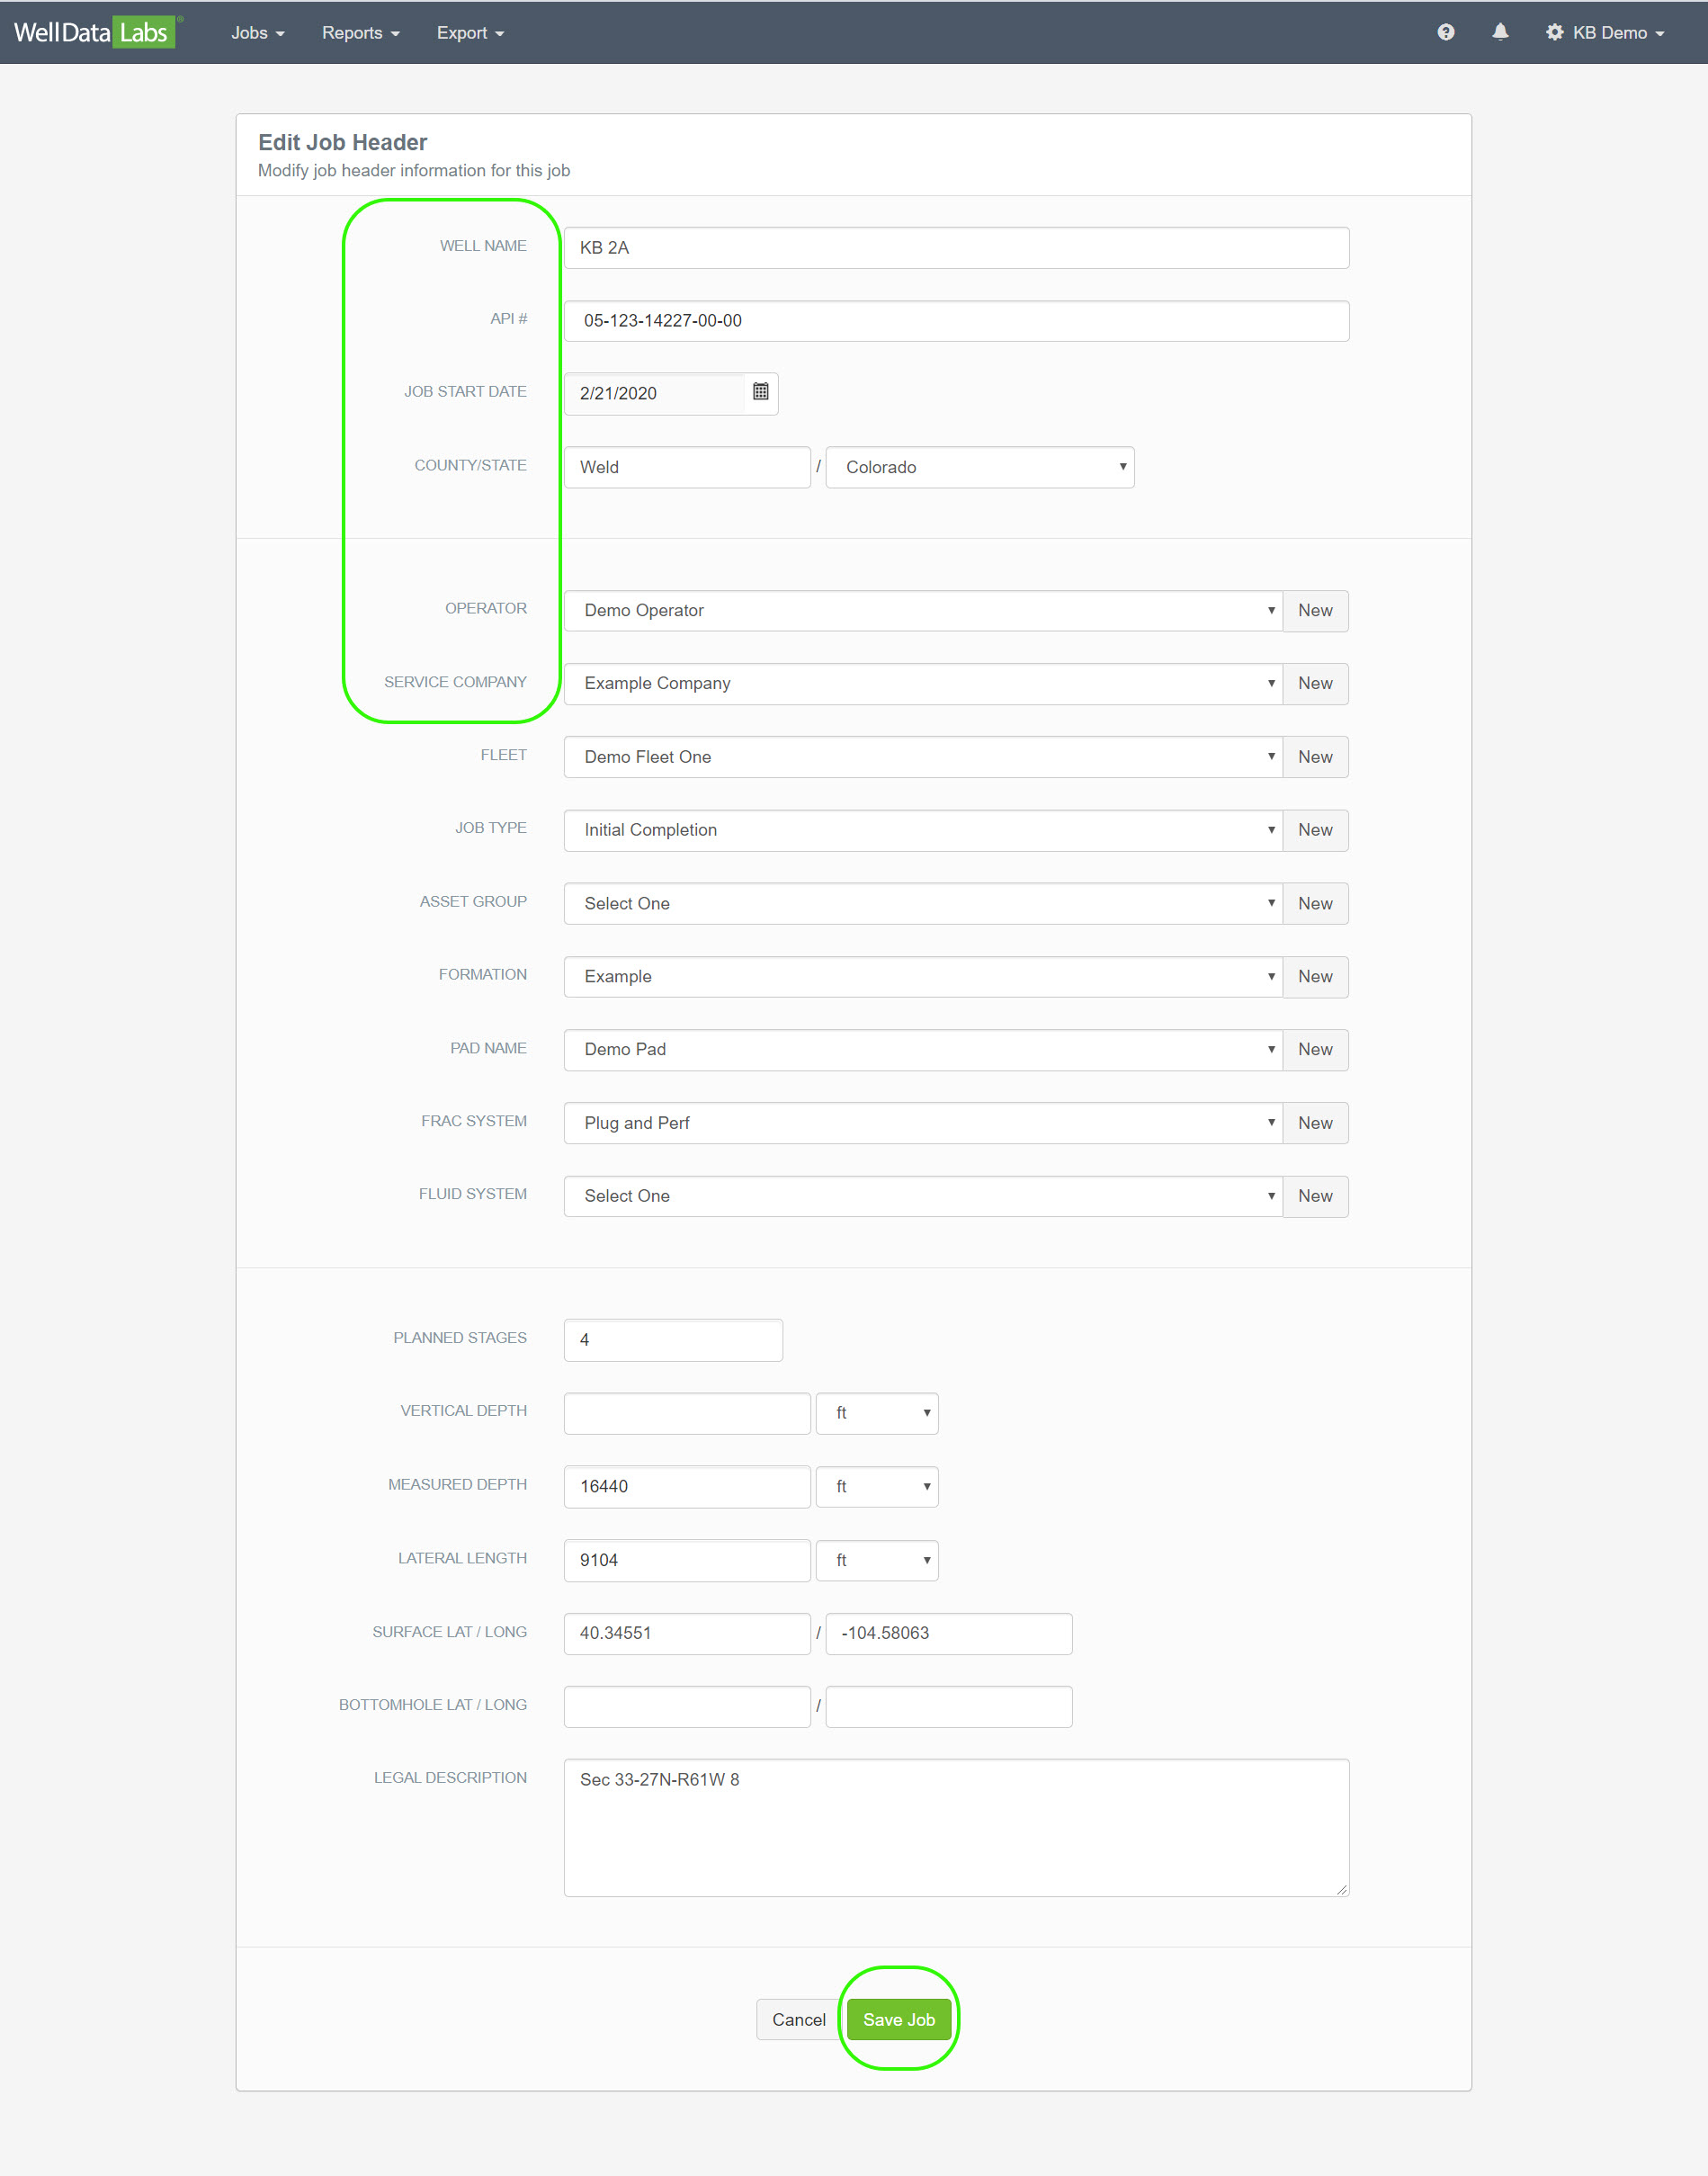
Notice on the New Job page that Well Data Labs gives you the opportunity to enter several fields. However, the only fields that are required to Create a New Job are the Well Name, API#, Operator and Service Company.
Create a New Job:
In this example, we have entered the Well Name, API#, Date (defaults to the current date or you can select a date from the calendar), County/State (automatically populates based off of the API#), Operator and Service Company.
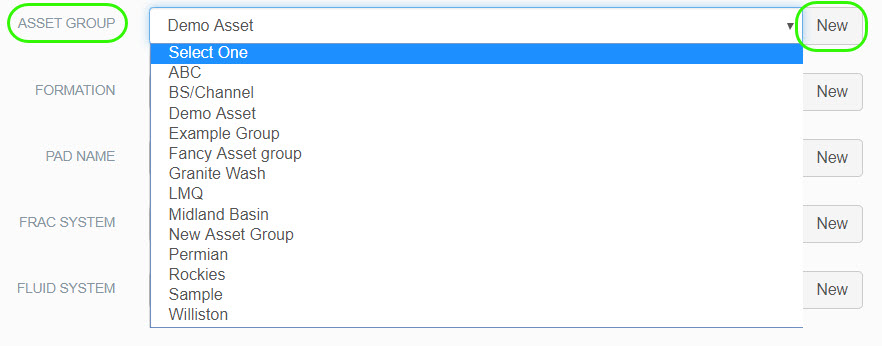
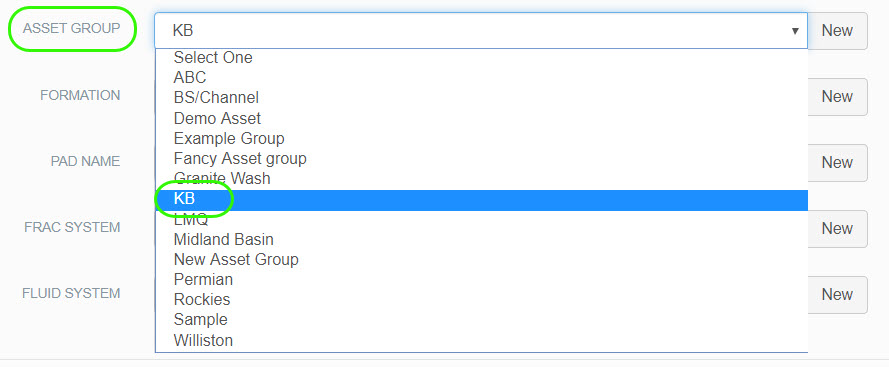
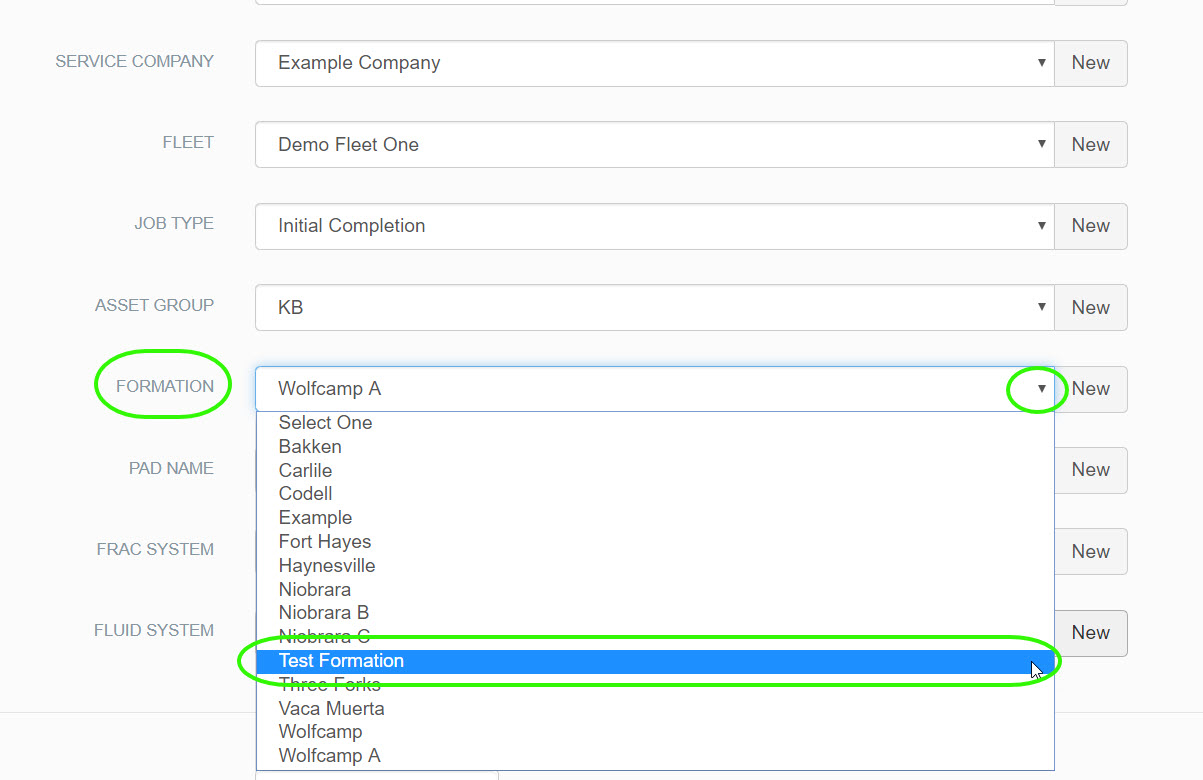
Several fields have a drop-down arrow where you can make a selection from a list of data that already exists.

If the drop-down list does not contain what you need, in this case, the Asset Group "KB", is not a selection in the drop-down, click the New button to open a window where you can easily make additions to the drop-down list.
Here we will enter the New Asset Group and click Save.
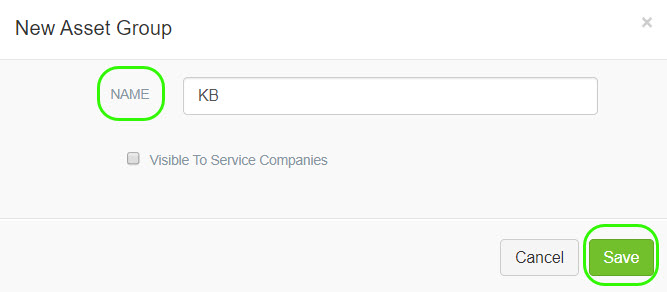
"KB" has been added to the list.
When you are finished entering all of your fields, click Save Job.
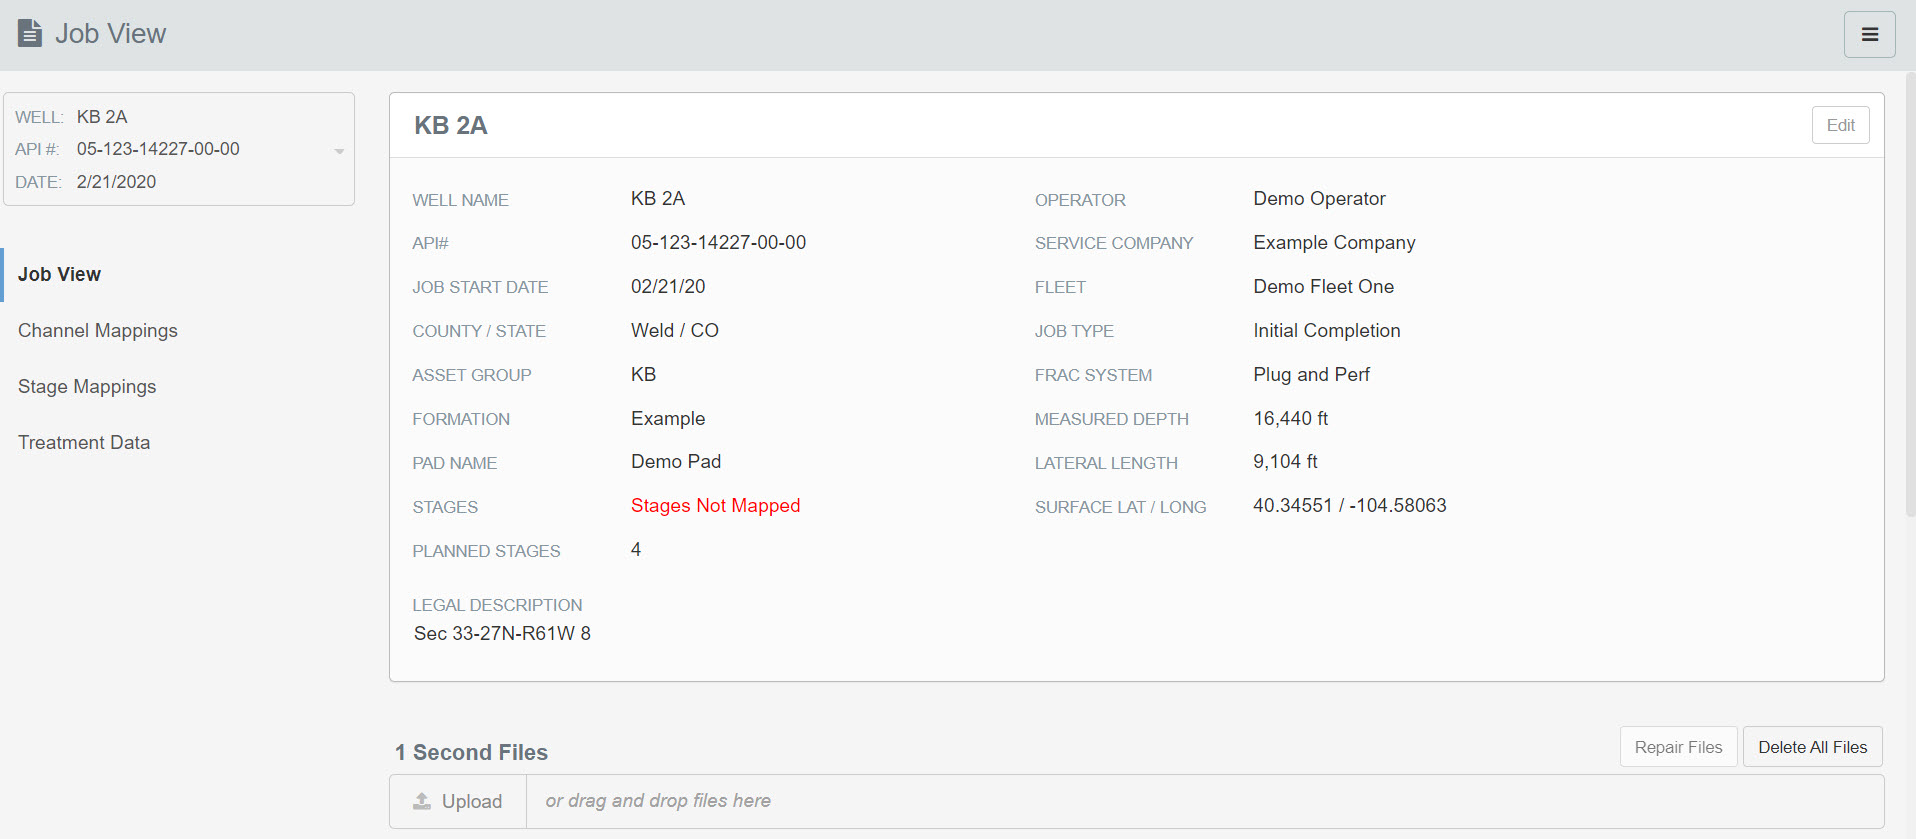
You will be returned to the Job View page where your Job Header information is displayed.
Editing your Job Header:
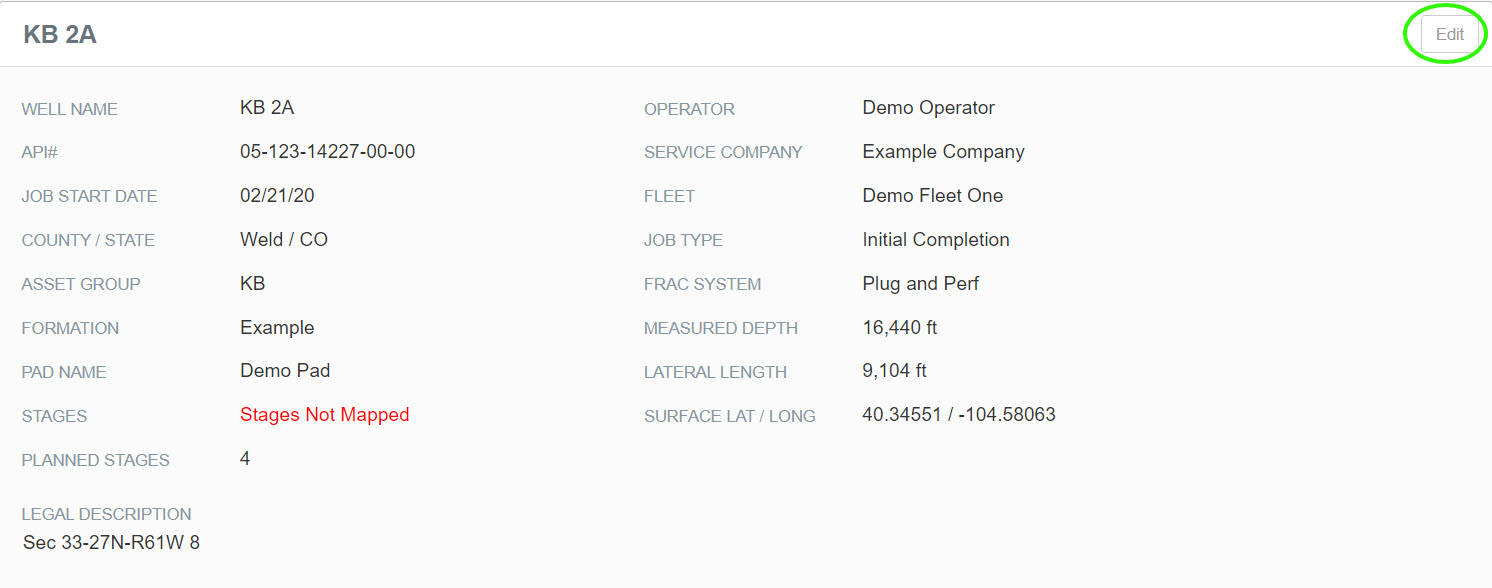
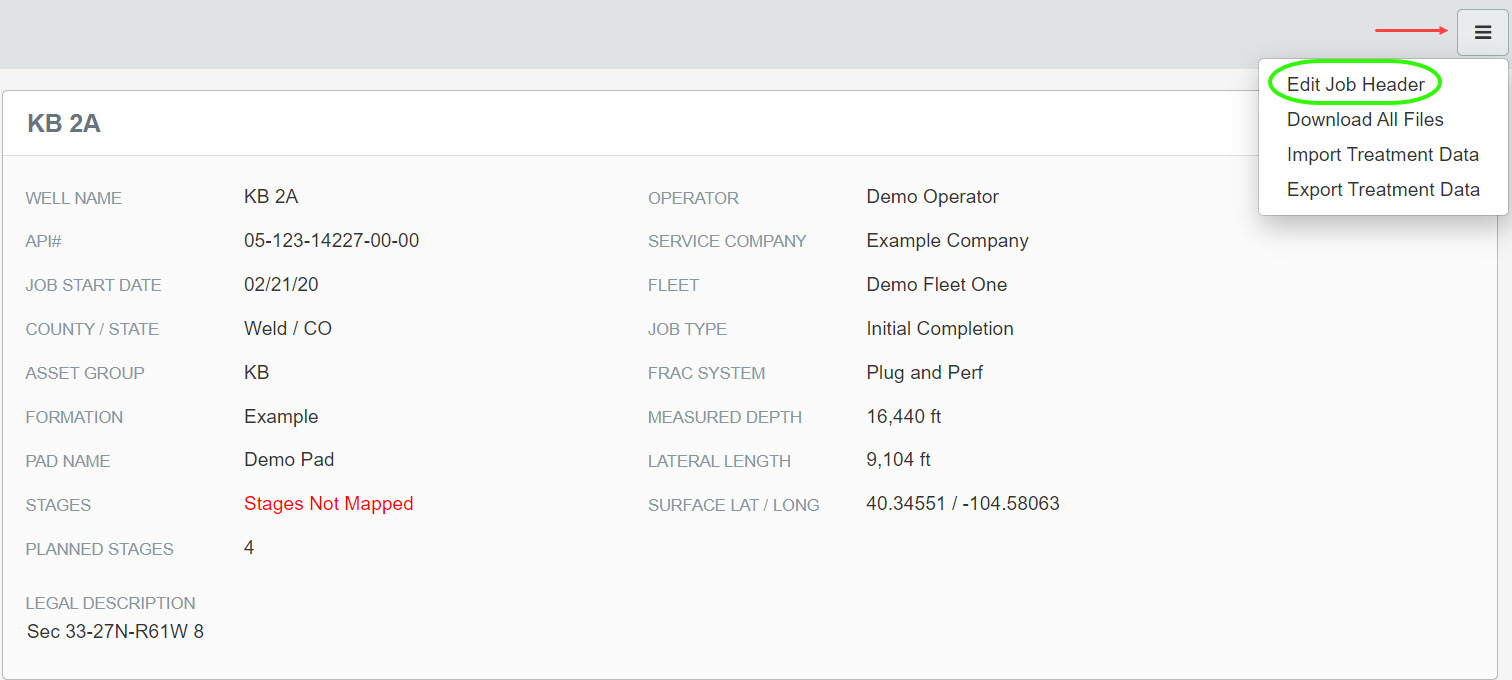
If you need to make additions or corrections to the Job Header, click the Edit button in the upper right-hand corner of the Job Header and select Edit Job Header.
Or, click on the 3-bar button in the upper right-hand corner of the page and select Edit Job Header.
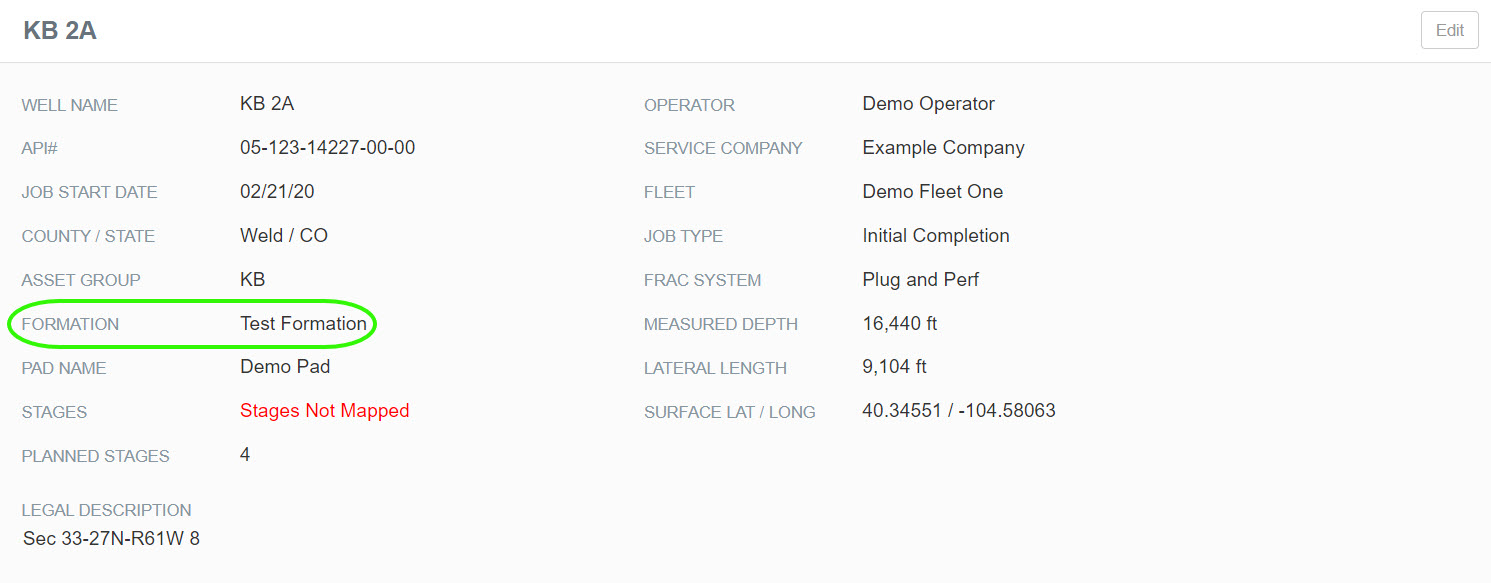
When the Edit Job Header template displays, make the necessary changes. (In this case we will edit the Formation). Click Save Job when you are finished.
You will be returned to the Job View page where you can view your changes.
That's it! Now that you have Created a Job, you can start uploading and importing your data!
Continue learning with Importing Job Data.