What can we help you with today?
Get help straight from the team at Well Data Labs...
Uploading 1-Second Files
Importing Job Data
Updated 1 week ago
Ready to import job data? Want to add other files to a job record? The Job View page makes the import process fast and simple when uploading 1 Second Files, Treatment Data Import Files, WITSML Files and Other Data Files.
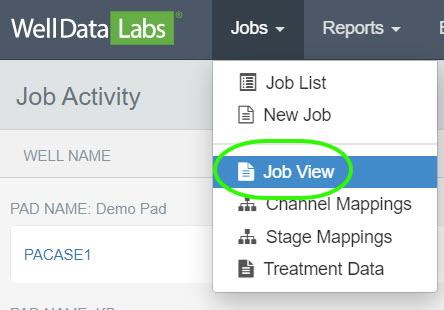
Before getting started, we would like to point out several options you can choose from that will open the Job View page.
You can select Job View from the Jobs drop-down on the toolbar.
Or, if you are on the Job List page, click on the Well Name or select View in the Actions column.

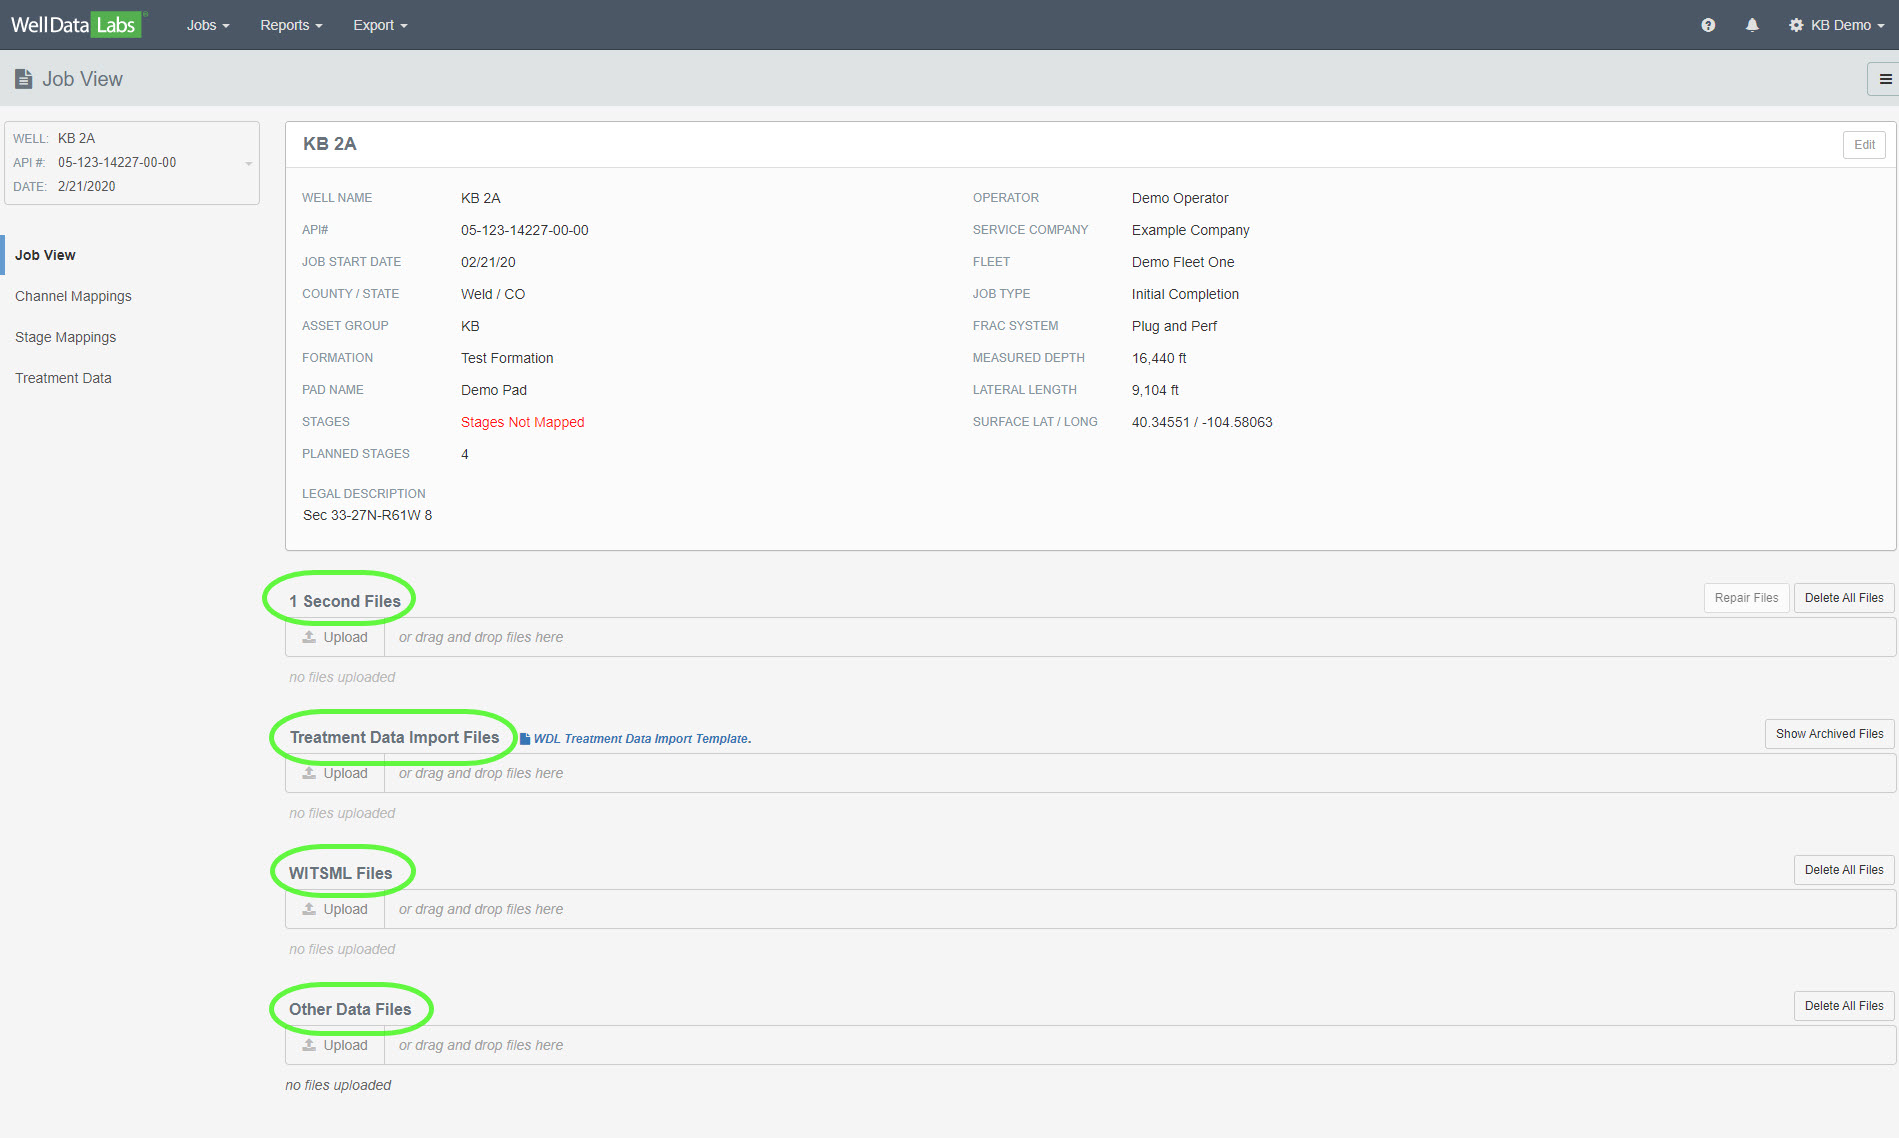
The Well Name, Job header information, and Import functions for the different file types are available on the Job View page.
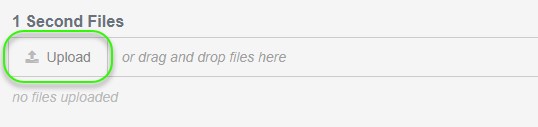
You want to get your frac data into Well Data Labs, and there are two ways to do that. First, you can click on the Upload button and navigate to where your files are kept.
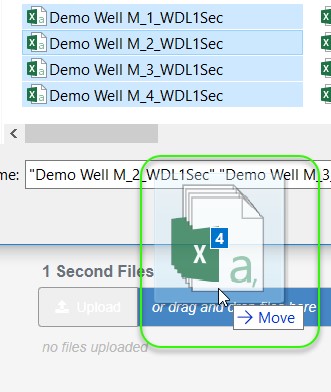
Or, if you have your files handy, you can highlight the files you would like to upload and drag and drop them into the Upload box.
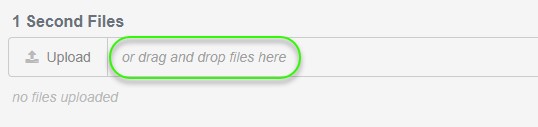
The box will turn blue, and the files will begin uploading.

As each file completes loading, the row will turn green.

When all files are finished uploading, you will see a green check mark (indicating the file has successfully imported) in the status column next to each file.

Well Data Labs will begin importing your files and checking for any problems with the data. Certain problems with your files can be repaired within the application. To ensure a smooth experience as you import your files, check the Import File Standards article. After the data is imported, you can move onto Channel Mappings or go back to create another New Job.
Continue learning with Preview Job Data.