For Admins, you can learn how to Manage Pick Lists in the steps below to keep the options presented to users free of duplicates and misspellings.
Simply click the Gear/User Name drop-down located in the upper right-hand corner of any page in the application and select Manage Pick Lists.

Select the table that you want to adjust from the drop-down on top of the page. For this case, let’s take a look at the Formation table.
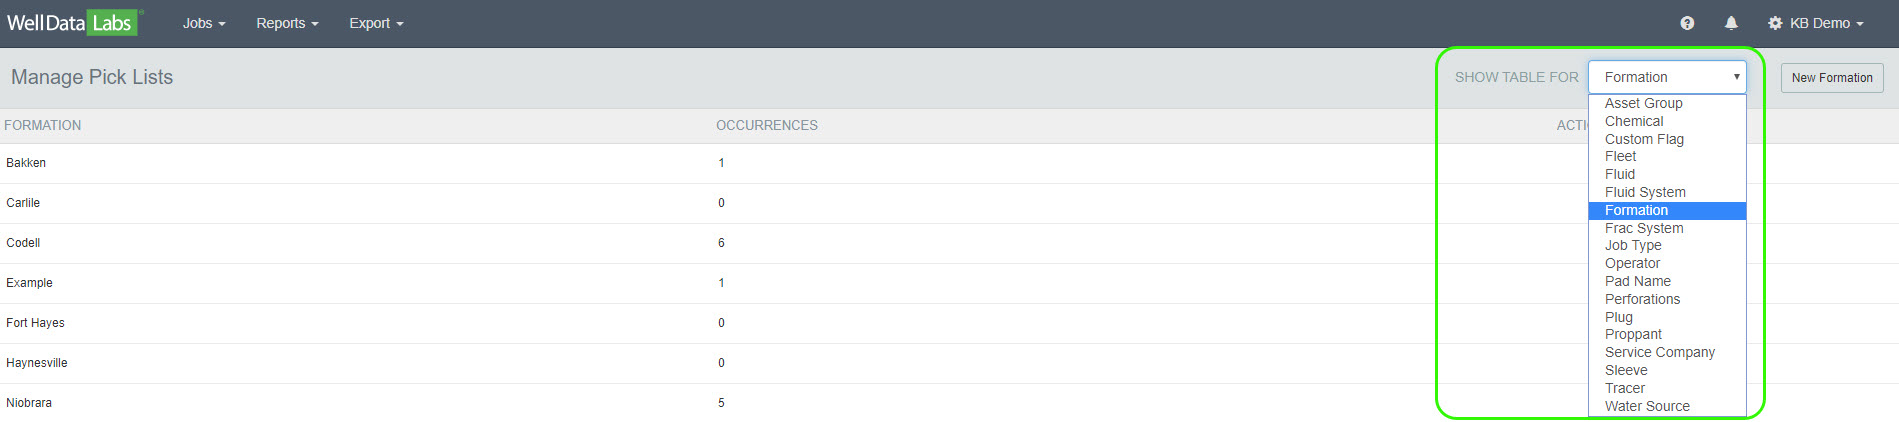
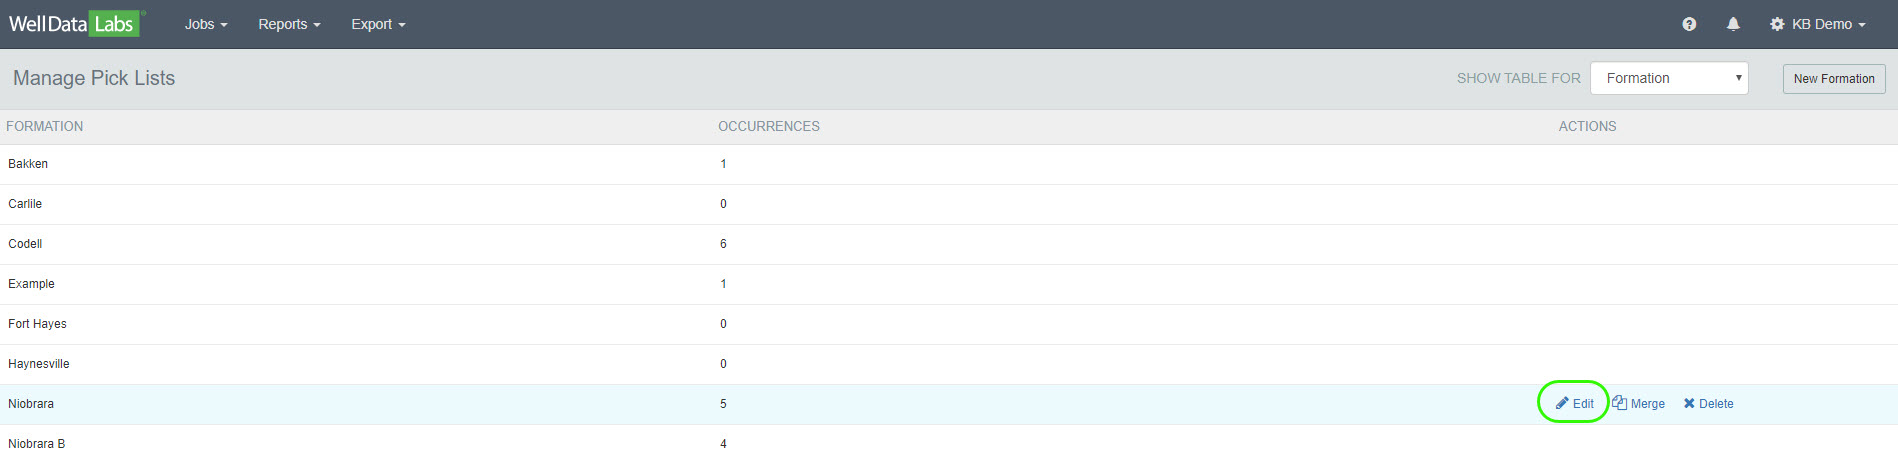
A list of the Formations that have been entered into Well Data Labs will display along with the number of occurrences for each one, and actions you can take on each of those pick list entries. Note that you won't be able to directly delete an entry unless it has zero occurrences within Well Data Labs. To change the name of the Formation, click Edit and Save the new name. This will adjust the entry on every job that uses that name.
The pick list selectors throughout Well Data Labs will now show "Fort Hayes" instead of "Niobrara".

If the Formation name doesn’t exist on your list, you can add it by clicking on the New Formation button at the top of the screen.

If you have two wells that landed in the same Formation but they were named differently, you can merge those names together to have the same nomenclature. Click the Merge button on the name that you'd like to be replaced by something else on the formation list.

Then, select from the pick list choice the element you would like to replace it with and click Merge.

Your data elements are now consistent among jobs!

You might be interested in seeing other Administrative actions you can take within Well Data Labs, such as Adding a New User or Setting Notifications.