The Job List is a convenient way to see all of the jobs that you have access to. If you've already spent some time loading files and Data Mapping several jobs, the Job List page is the place to go to for a list of each job along with its summary information.
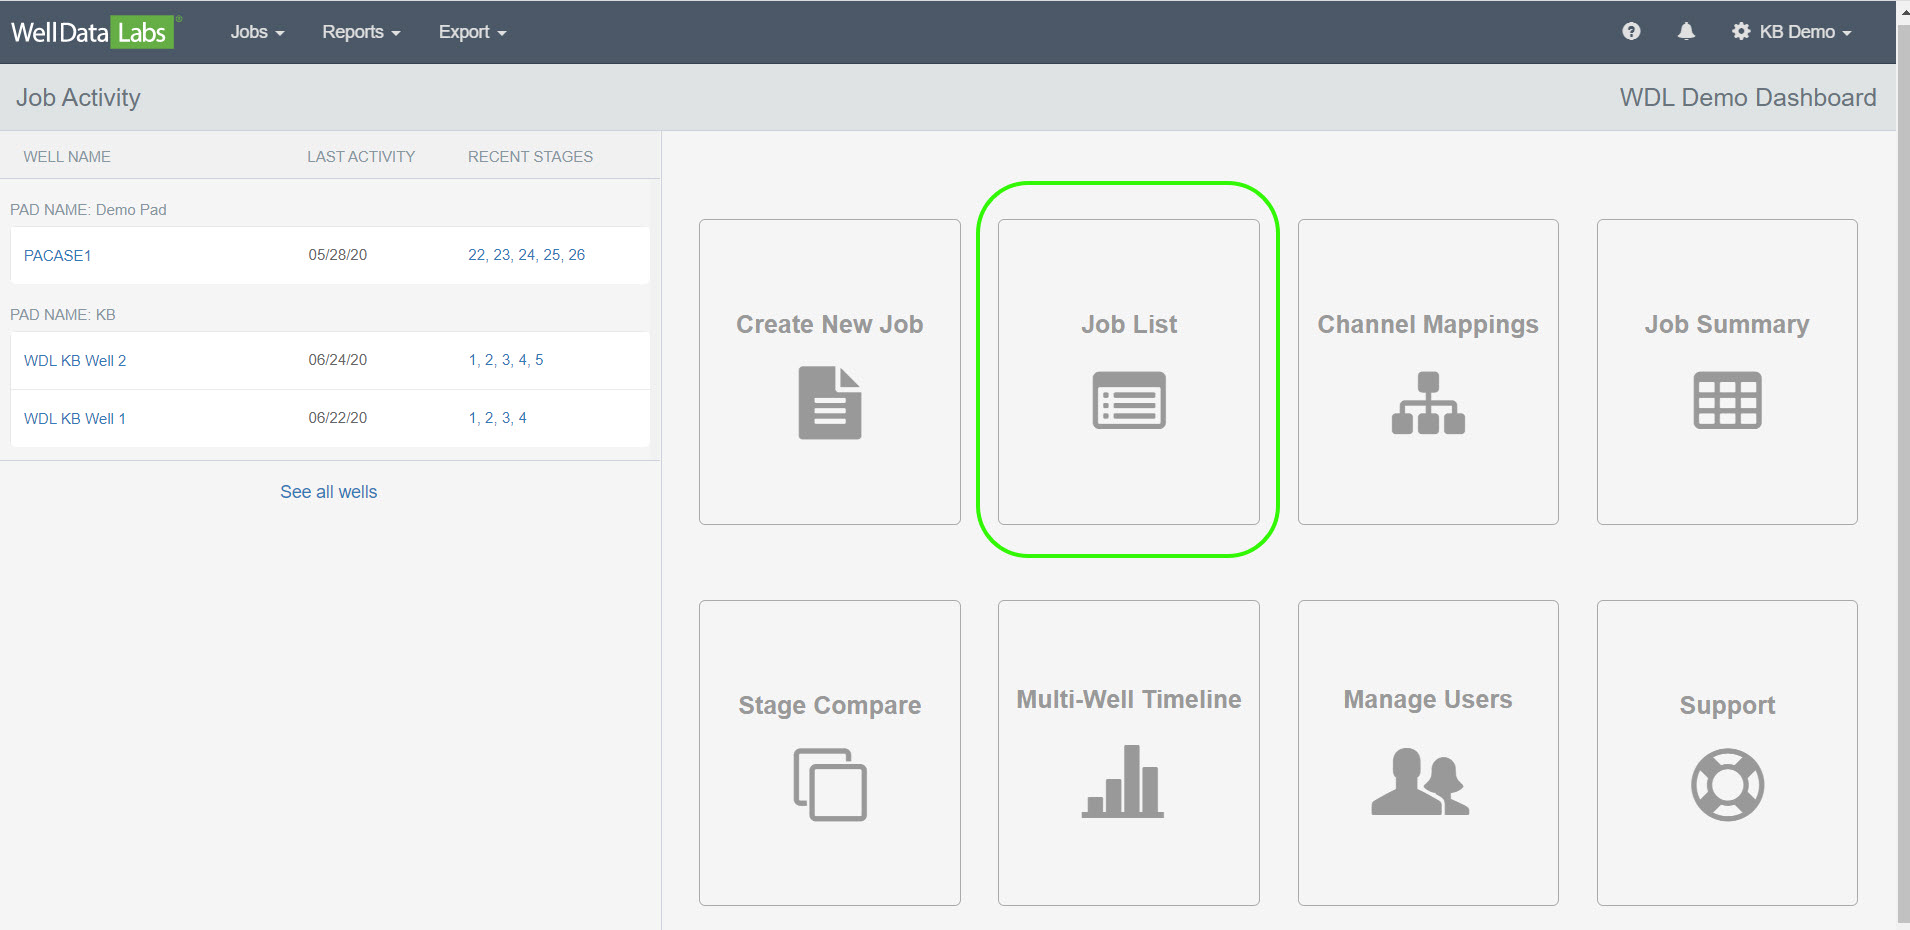
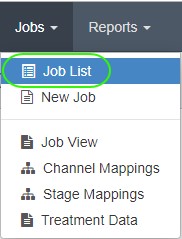
You can easily get to the Job List by clicking on the Job List tile on the Dashboard or, select Job List from the Jobs drop-down on the toolbar.
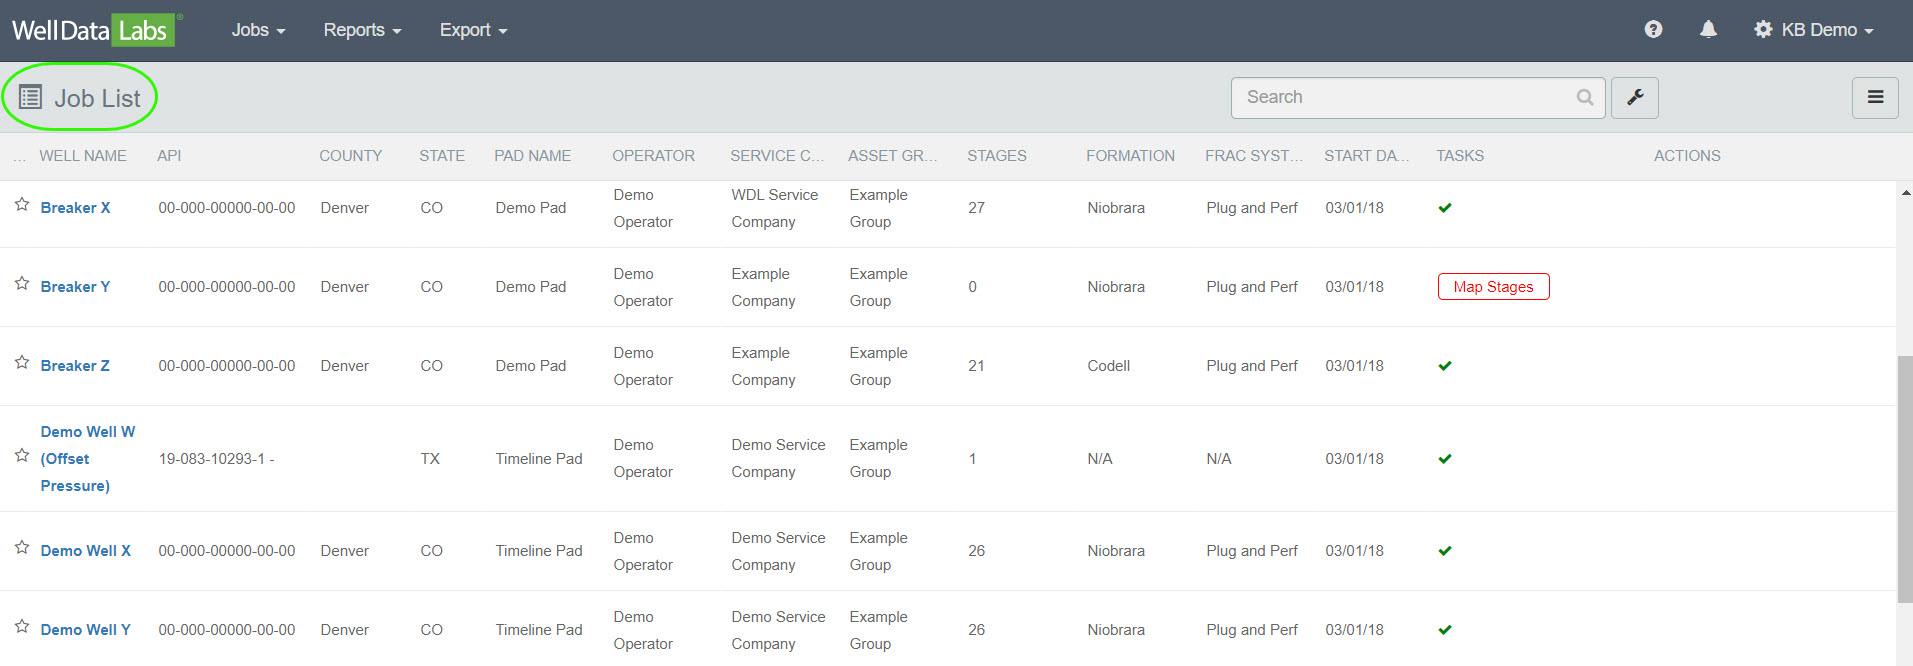
When the Job List page opens, you will see a list of the wells that you have access to and a reminder if there are any tasks that need to be completed on the Job.
Marking Favorites:
It doesn’t take long for the Job List to grow! To save time, you can easily set which wells are your “favorites” by clicking on the star to the left of the Well Name. This will move those wells to the top of the list for easy access and you will see the selected wells at the top of every Job Selector throughout the application. Also, this makes it easy for you to sort by a particular set of wells. For example, by Pad Name or Asset Group.

Search Option:
Use the Search option to find the Well Name you are looking for. Just type the name into the Search box.

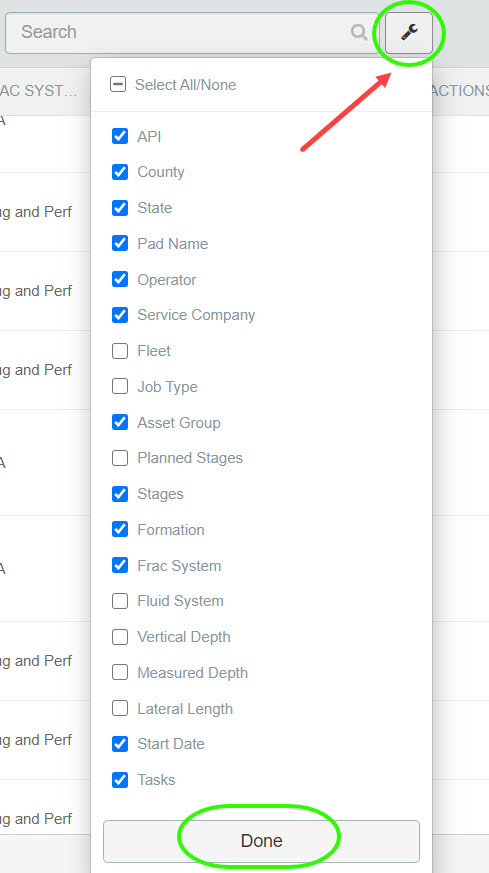
Customizing Job List Columns:
Just to the right of the Search box, you will see a “wrench” icon. Use this to select the columns you would like to see on the Job List.

Sorting:
Sorting is very easy; just click on the header title of the column that you want to sort by, and you will see the Sort Caret move to that column and indicate an ascending or descending sort order.

Tasks Column:
If there is a task to be completed on the Job, you will see it in this column. Hover over the task to see the details and clicking on the task with take you directly to the page you need to be on to complete the task!

The Actions Column:
When you mouse over a job, you can select from one of three Actions that are available.

View - A link to the Job View page to see what files have been uploaded and additional information in the well header.
Edit - This will take you to the Edit Job page, so you can add or change information in the well header.
Delete - Maybe it's a redundant job or maybe some example data is just in your way. The Delete action here will remove that job record.
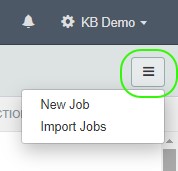
Creating a New Job or Importing Jobs:
Create a New Job or Import Jobs by clicking on the 3-bar button in the upper right-hand of the page and making a selection.
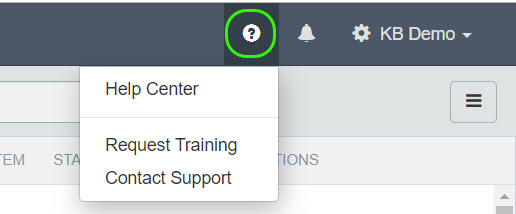
We try to keep things like the Job List straightforward so you can quickly see the information you need to get your job done. If you would like to quickly get to the Knowledge Base, click on the question mark on the tool bar and select Help Center. You can also request training and if you need more information or want to see a new feature added to Well Data Labs, Contact Support and we will be happy to help!